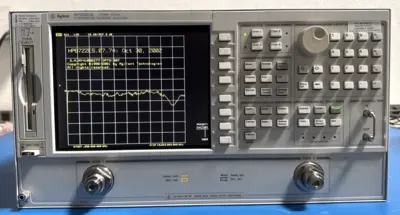
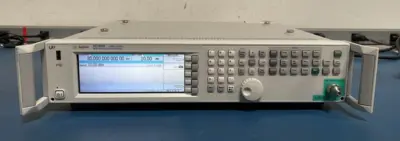
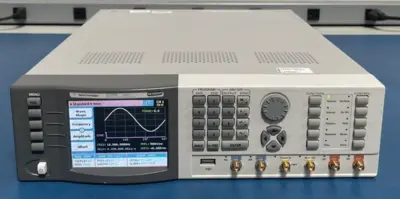
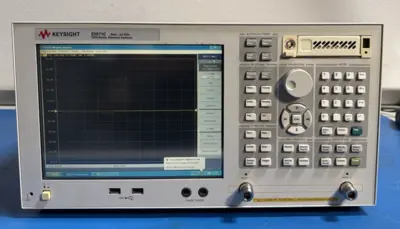
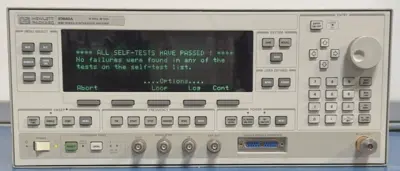
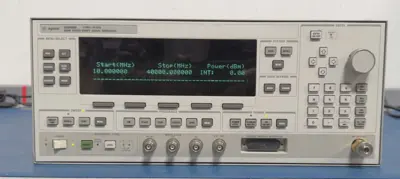
HP / Keysight / Agilent 55280A Overview
The system measures the change in distance between the interferometer and the retroreflector. Prior to movement, any point can be defined as a measurement starting point.
The Agilent 55290A can be used to calibrate the positioning accuracy of numerically-controlled machine tools and coordinate measuring machines. With its extreme accuracy and resolution, it can also be used as a de facto standard for calibrating length standards.
Features:
- Linear Distance Measurement Accuracy: Distance measurements will be accurate to within the following tolerances (error band) depending on the velocity of light compensation method and operating temperature. Values shown apply at a known material temperature with known coefficient of thermal expansion. If automatic material temperature sensing is used, the system error will be increased by Te (ppm).
- Te(ppm) - (coeff. of expansion in ppm/deg. C) X (average sensor error in deg. C
- Velocity of Light (VOL) Compensation Method
- Manual Operating (VOL Exactly Automatic Temperature Known in -- Using Agilent 10751A/B Range (deg. C)* Beam Path-- Air Sensor)
- 20 (±0.5) ±0.1 ppm*** ±1.5 ppm
- 15-25 ±0.1 ppm*** ±1.7 ppm
- 0-40 ±0.1 ppm*** ±3.0 ppm
- * Temperature of all system components is stabilized anywhere within the temperature range shown.
- ** Agilent 10751A/B mounted in recommended orientation. Humidity switch set to most closely matched actual conditions. 12 month calibration interval assumed.
- *** ±0.02 ppm if the Agilent 5518A Laser Head is factory calibrated to MIL STD 45662.
- High measurement accuracy
- Calibration for many length standards
- One optical setup accomplishes both displacement and velocity measurements
- Included mounting accessories simplify fixturing for linear and other system optics

